Key takeaways
- Repair major defects and address dampness before painting.
- Remove dust, loose particles and surface contamination.
- Allow each coat to dry as recommended before sanding or recoating.
1. Inspect the wall
Look for cracks, loose plaster, powdering, dampness, stains and previous coating failures. Identify problems that need repair before cosmetic finishing begins.
Inspection should also include previous coating failure. Bubbling, peeling or powdering can indicate a substrate or moisture problem. Painting directly over a failing layer usually transfers the problem to the new finish.
2. Clean and repair
Remove loose material and dust. Repair suitable cracks and surface defects with the appropriate material. If there is active water ingress, fix the source first.
Use suitable repair materials for the defect. Allow repaired areas to dry before continuing. A clean and stable surface is easier to sand and coat evenly than one containing dust or loose particles.
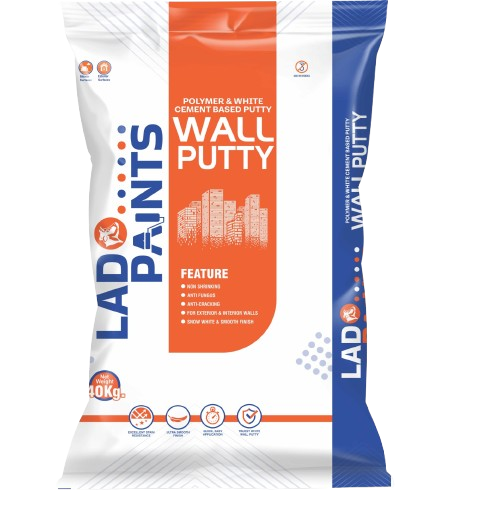
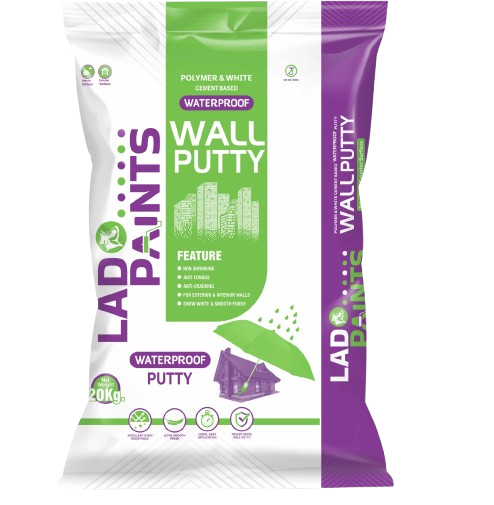
3. Apply putty where required
Putty can be used to improve smoothness on suitable masonry surfaces. Follow the product’s recommended number of coats, drying time and sanding procedure.
Putty should be applied in controlled coats rather than trying to build excessive thickness in one pass. After drying, sanding should remove unevenness without damaging the prepared surface.
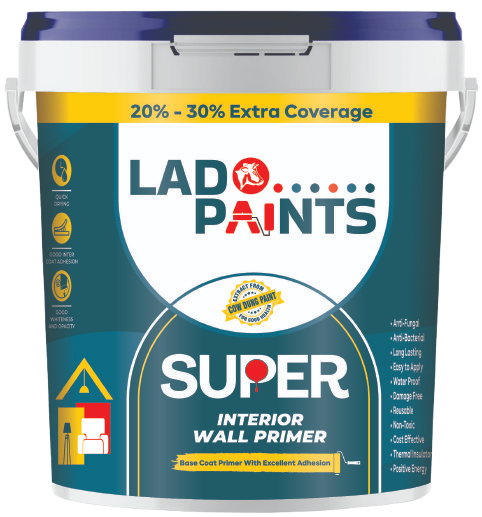
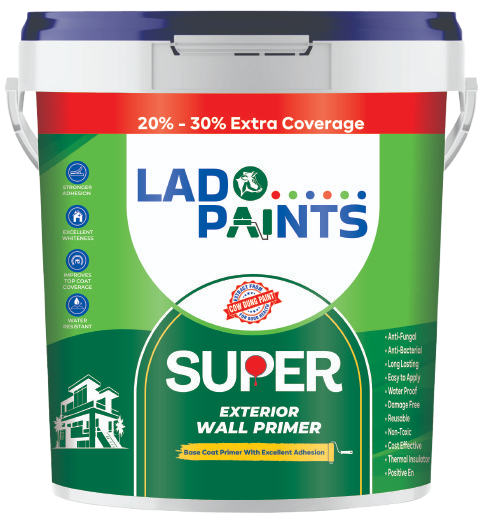
4. Apply primer
Once the surface is clean and prepared, apply the compatible primer. Primer can help create a more uniform base for the finishing coat.
Primer should be allowed to dry according to the product instructions before the finishing coat. Rushing the sequence can trap moisture or produce an uneven finish.
5. Finish with the right paint
Apply the selected interior or exterior topcoat according to the product instructions. Maintain recommended drying and recoating intervals for a more consistent result.
Keep a simple record of the products used, approximate application dates and any remaining material. This can make future touch-ups easier, especially when a room needs maintenance after several months.
Frequently asked questions
Why is wall preparation important?
Preparation removes loose material, addresses defects and creates a more uniform surface for primer and finishing coats.
Should damp walls be painted?
Active dampness should be addressed first. Painting over a moisture problem can lead to coating failure.
When should primer be applied?
After the substrate is properly prepared and any required putty work has dried and been finished according to the product instructions.
Need help choosing a product?
Tell us about your wall, room or project and the Lado Paints team can guide you toward the relevant product information.
Send an enquiry →